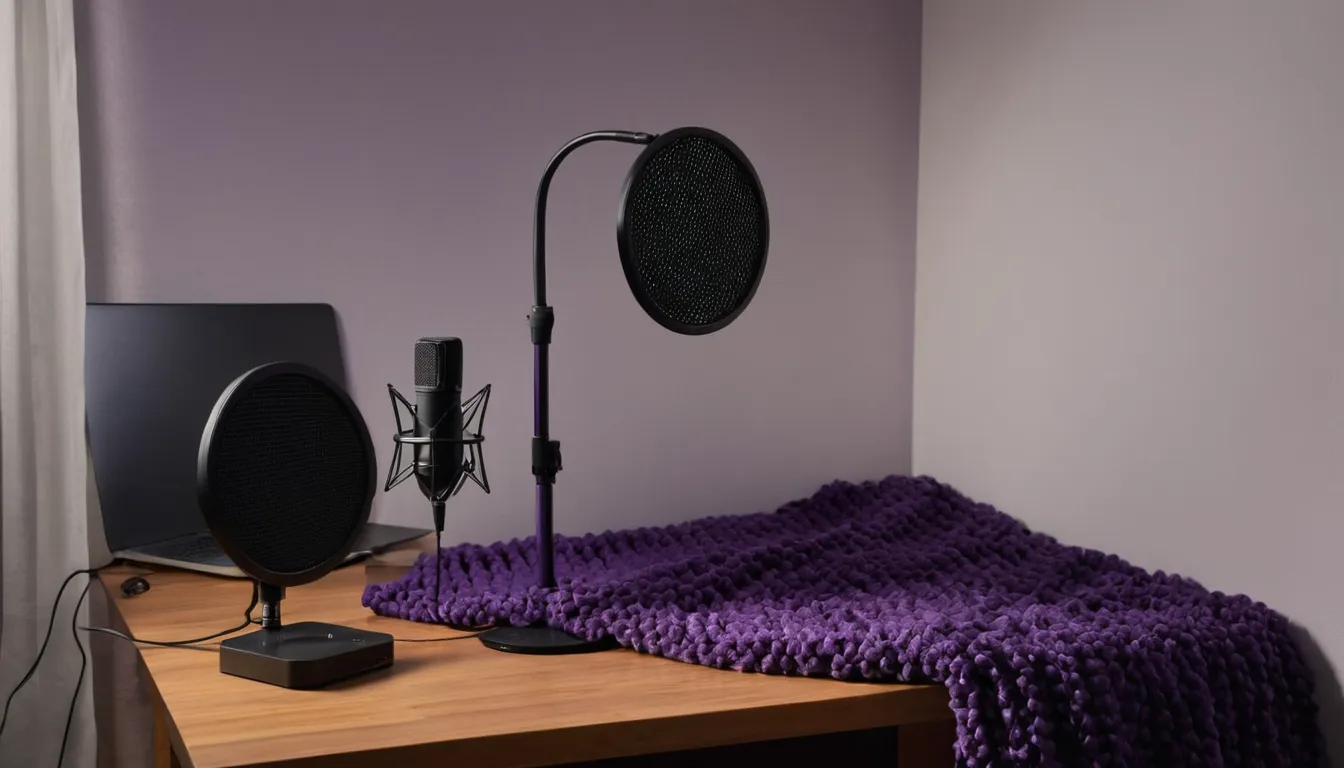
Why record yourself
A recording lets you hear your pitch, breath and words the way a listener does. Recording a song once a month gives you a clear record of progress, and short recordings during practice help you fix problems while they are fresh. See the pitch guide for a simple record and check routine.
Choose and soften the room
- Pick a quiet time of day, and switch off fans, heaters and other noisy machines while you record.
- Rooms with soft furnishings, such as a bedroom with curtains, a rug and a bed, have less echo than a kitchen or bathroom.
- A closet full of clothes is a surprisingly good vocal booth.
- Hanging a heavy blanket behind you, or behind the microphone, cuts down reflections further.
What you need
| Option | Good for | Watch out for |
|---|---|---|
| Phone voice recorder | Quick practice checks | Automatic processing, and results vary with how you hold the phone |
| USB microphone | Simple recording to a computer | Picks up room noise, so a quiet room still matters |
| Audio interface with a separate microphone | More control and room to grow | More cables and settings to learn |
| Closed-back headphones | Hearing a backing track while you sing | Open-back headphones leak sound into the microphone |
Free recording software is enough to start. Learn one program well before buying anything new.
Place the microphone
- Start with your mouth about a hand span from the microphone, roughly 6 to 8 inches, and adjust by ear.
- Use a pop filter, or angle the microphone slightly to the side, to soften the puffs of air on "p" and "b".
- Keep the same distance through the song. Moving closer and further changes the tone and volume.
- Mark the spot on the floor where you stand, so each take sounds the same.
Set the recording level
Before you record, sing the loudest part of the song and watch the level meter. Adjust the input gain so the loudest notes stay well below the top of the meter. In digital recording the top is 0 dBFS, and going past it causes clipping, a harsh distortion you can't remove afterward. Many home recordists aim for peaks somewhere around minus 12 to minus 6 dBFS, which leaves safe headroom.
Sing with a backing track
Play the backing track through headphones so it doesn't get into your vocal recording. Keep the headphone level moderate to protect your hearing. If you hear a delay between your voice and the track, look for a direct or low-latency monitoring setting on your interface or in your software.
Listen back fairly
Most people dislike their recorded voice at first. While you sing, you hear yourself partly through the bones of your head, which makes your voice sound fuller and deeper to you than it does in the air. A recording captures only the sound in the air. Give yourself time to get used to it, and listen for specific things, such as pitch, breath and clear words, instead of judging the whole take.
Sharing recordings online
If you post a recording of a song someone else wrote, music copyright can still apply even though you are the one singing. Video and music platforms set their own rules for cover songs, so read the platform's help pages before you post.
More guides
Breathing for singing
How low, steady breath carries your voice, with four simple exercises.
Cue 02A ten-minute warm-up
Body, breath, humming, lip trills, sirens and scales, in that order.
Cue 03Look after your voice
Everyday care, signs of strain, and when to see a doctor.
Cue 04Find your range
Test your lowest and highest comfortable notes and choose songs that fit.
Cue 05Sing in tune
Match a note, learn the steps of a scale, and check yourself with recordings.
Cue 06Build a practice routine
A twenty-minute session, a weekly plan and a way to learn new songs.
Cue 07Sing for other people
Nerves, microphone basics, karaoke, open mics and community choirs.